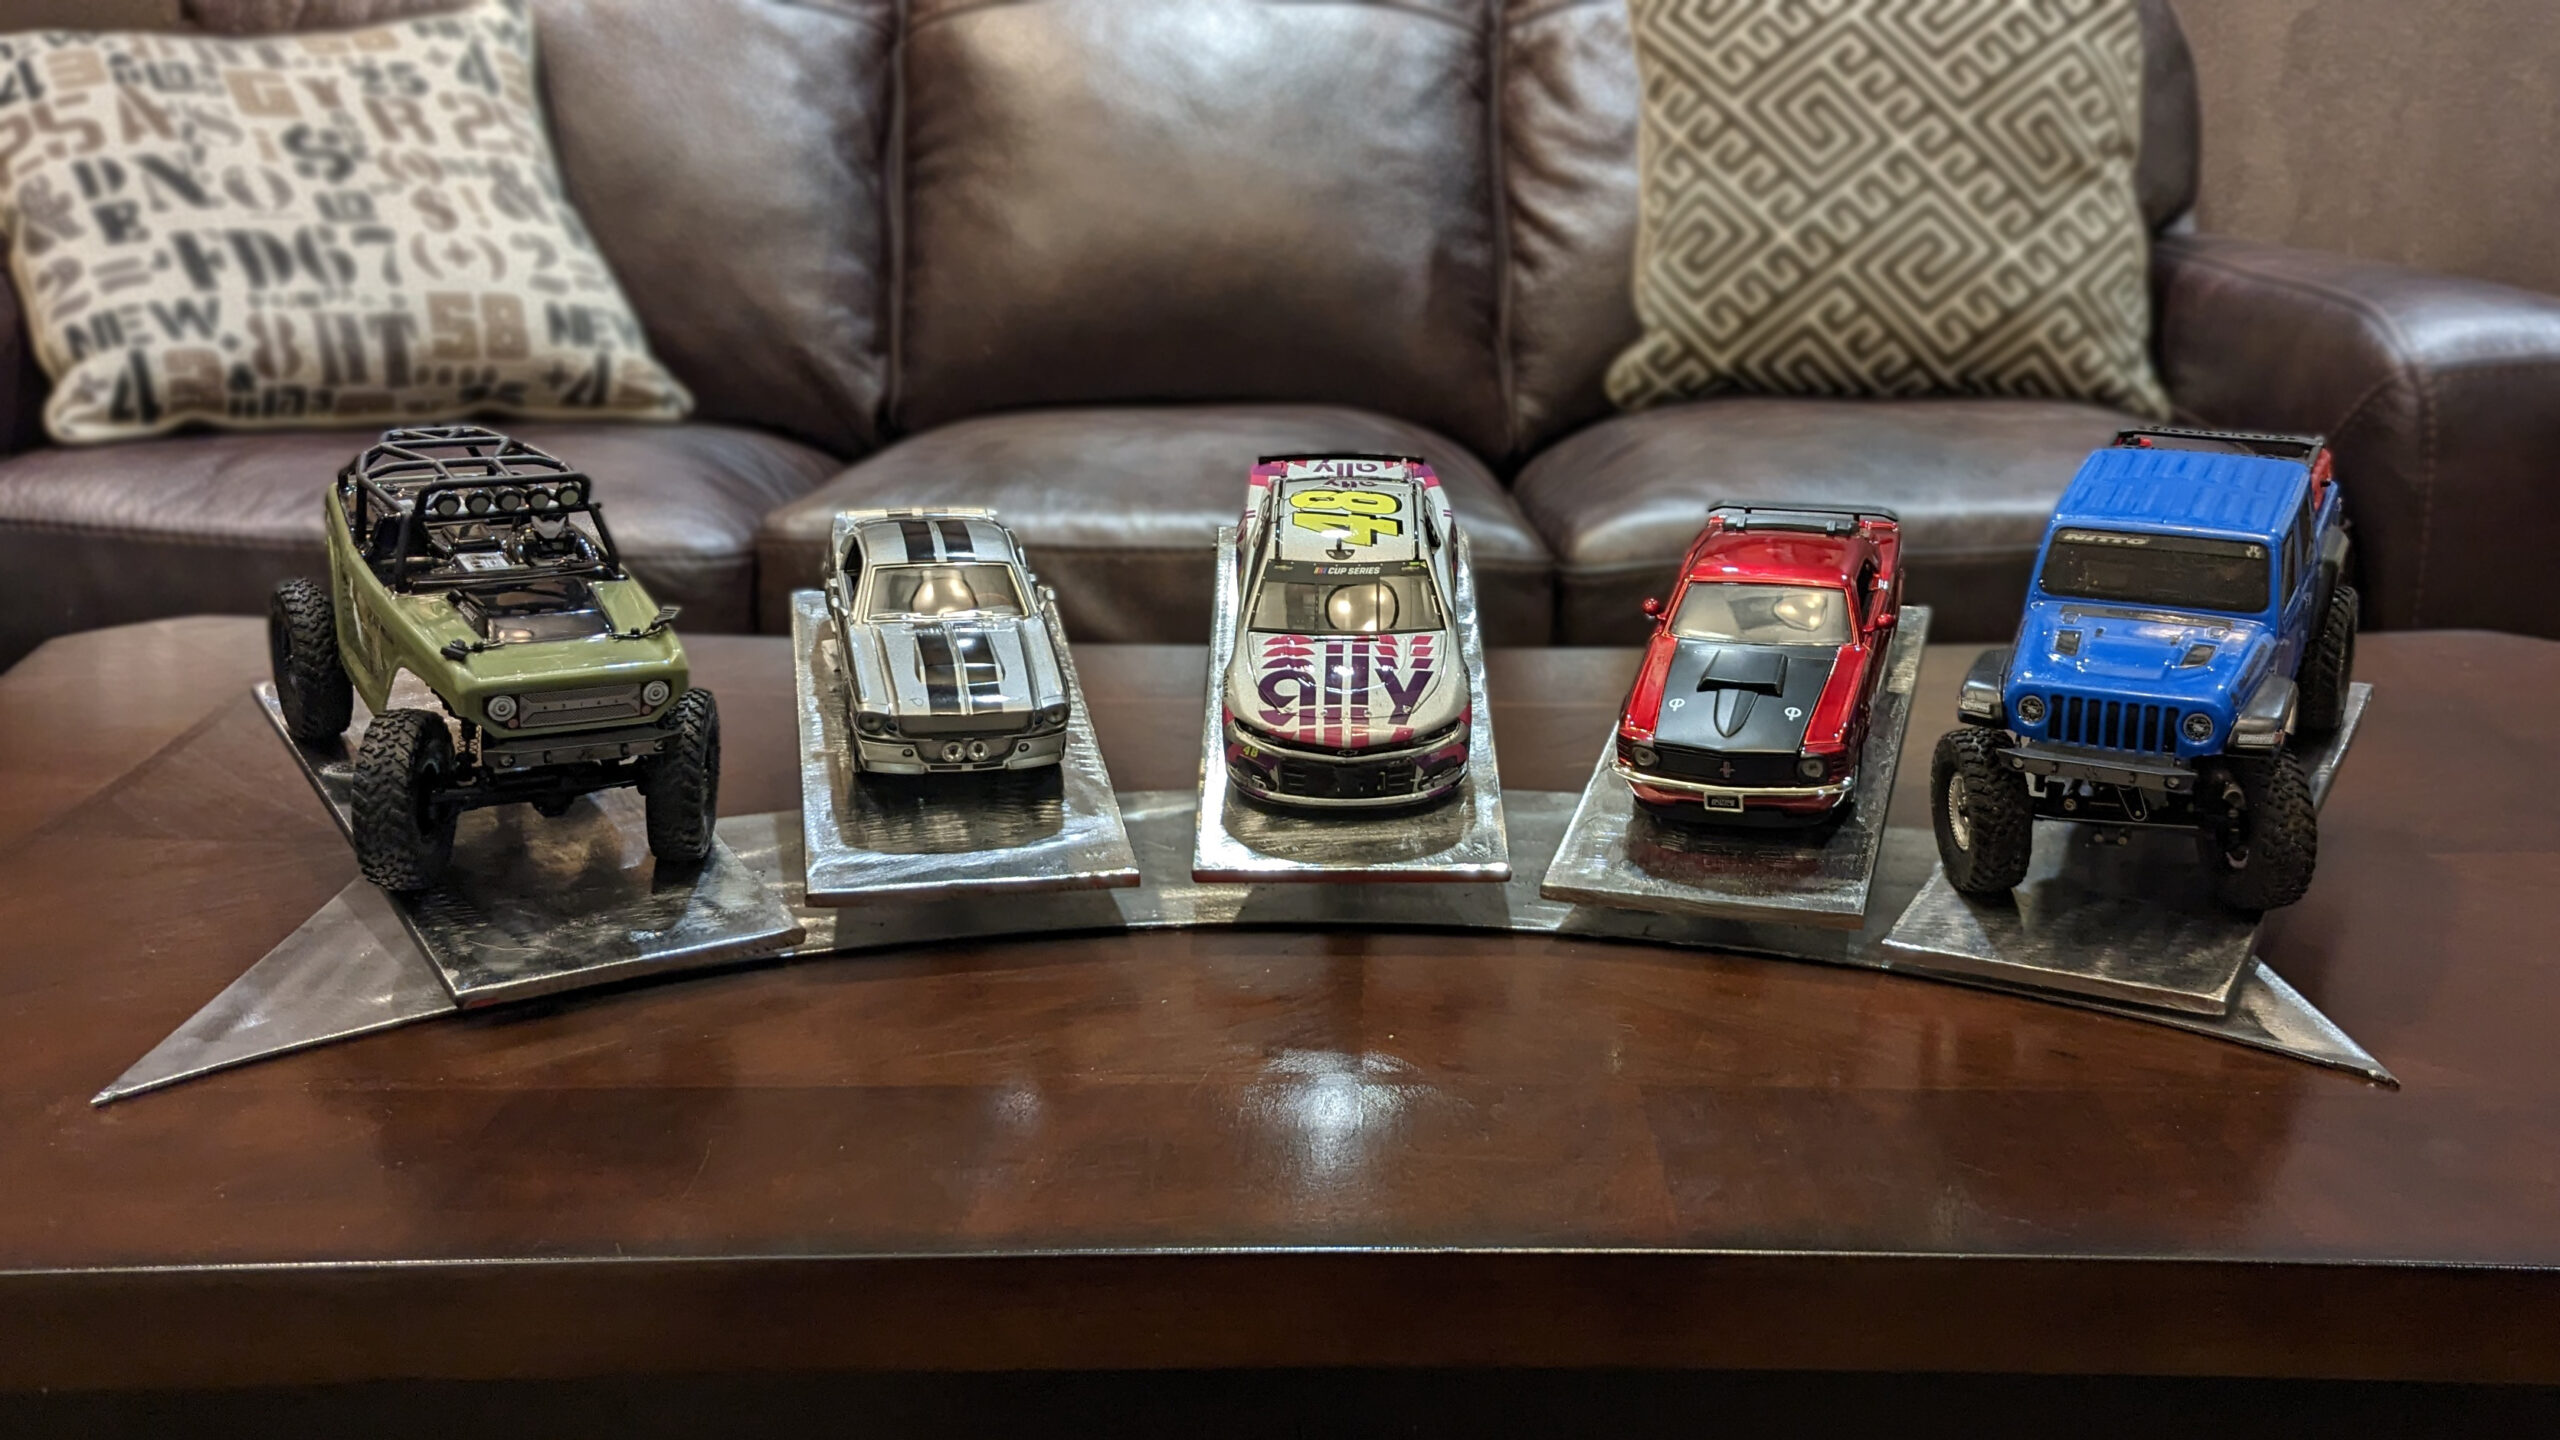

Our friends over at Forney Industries know how much our Daily Downforce readers love collecting diecast cars of their favorite drivers – but what’s the best way to show them off to your friends? They’ve got the answer with this easy guide to creating your own coffee table stand so your collection never goes unnoticed.
– Welding machine capable of welding ¼” thick material (we used the Forney 190 MP)
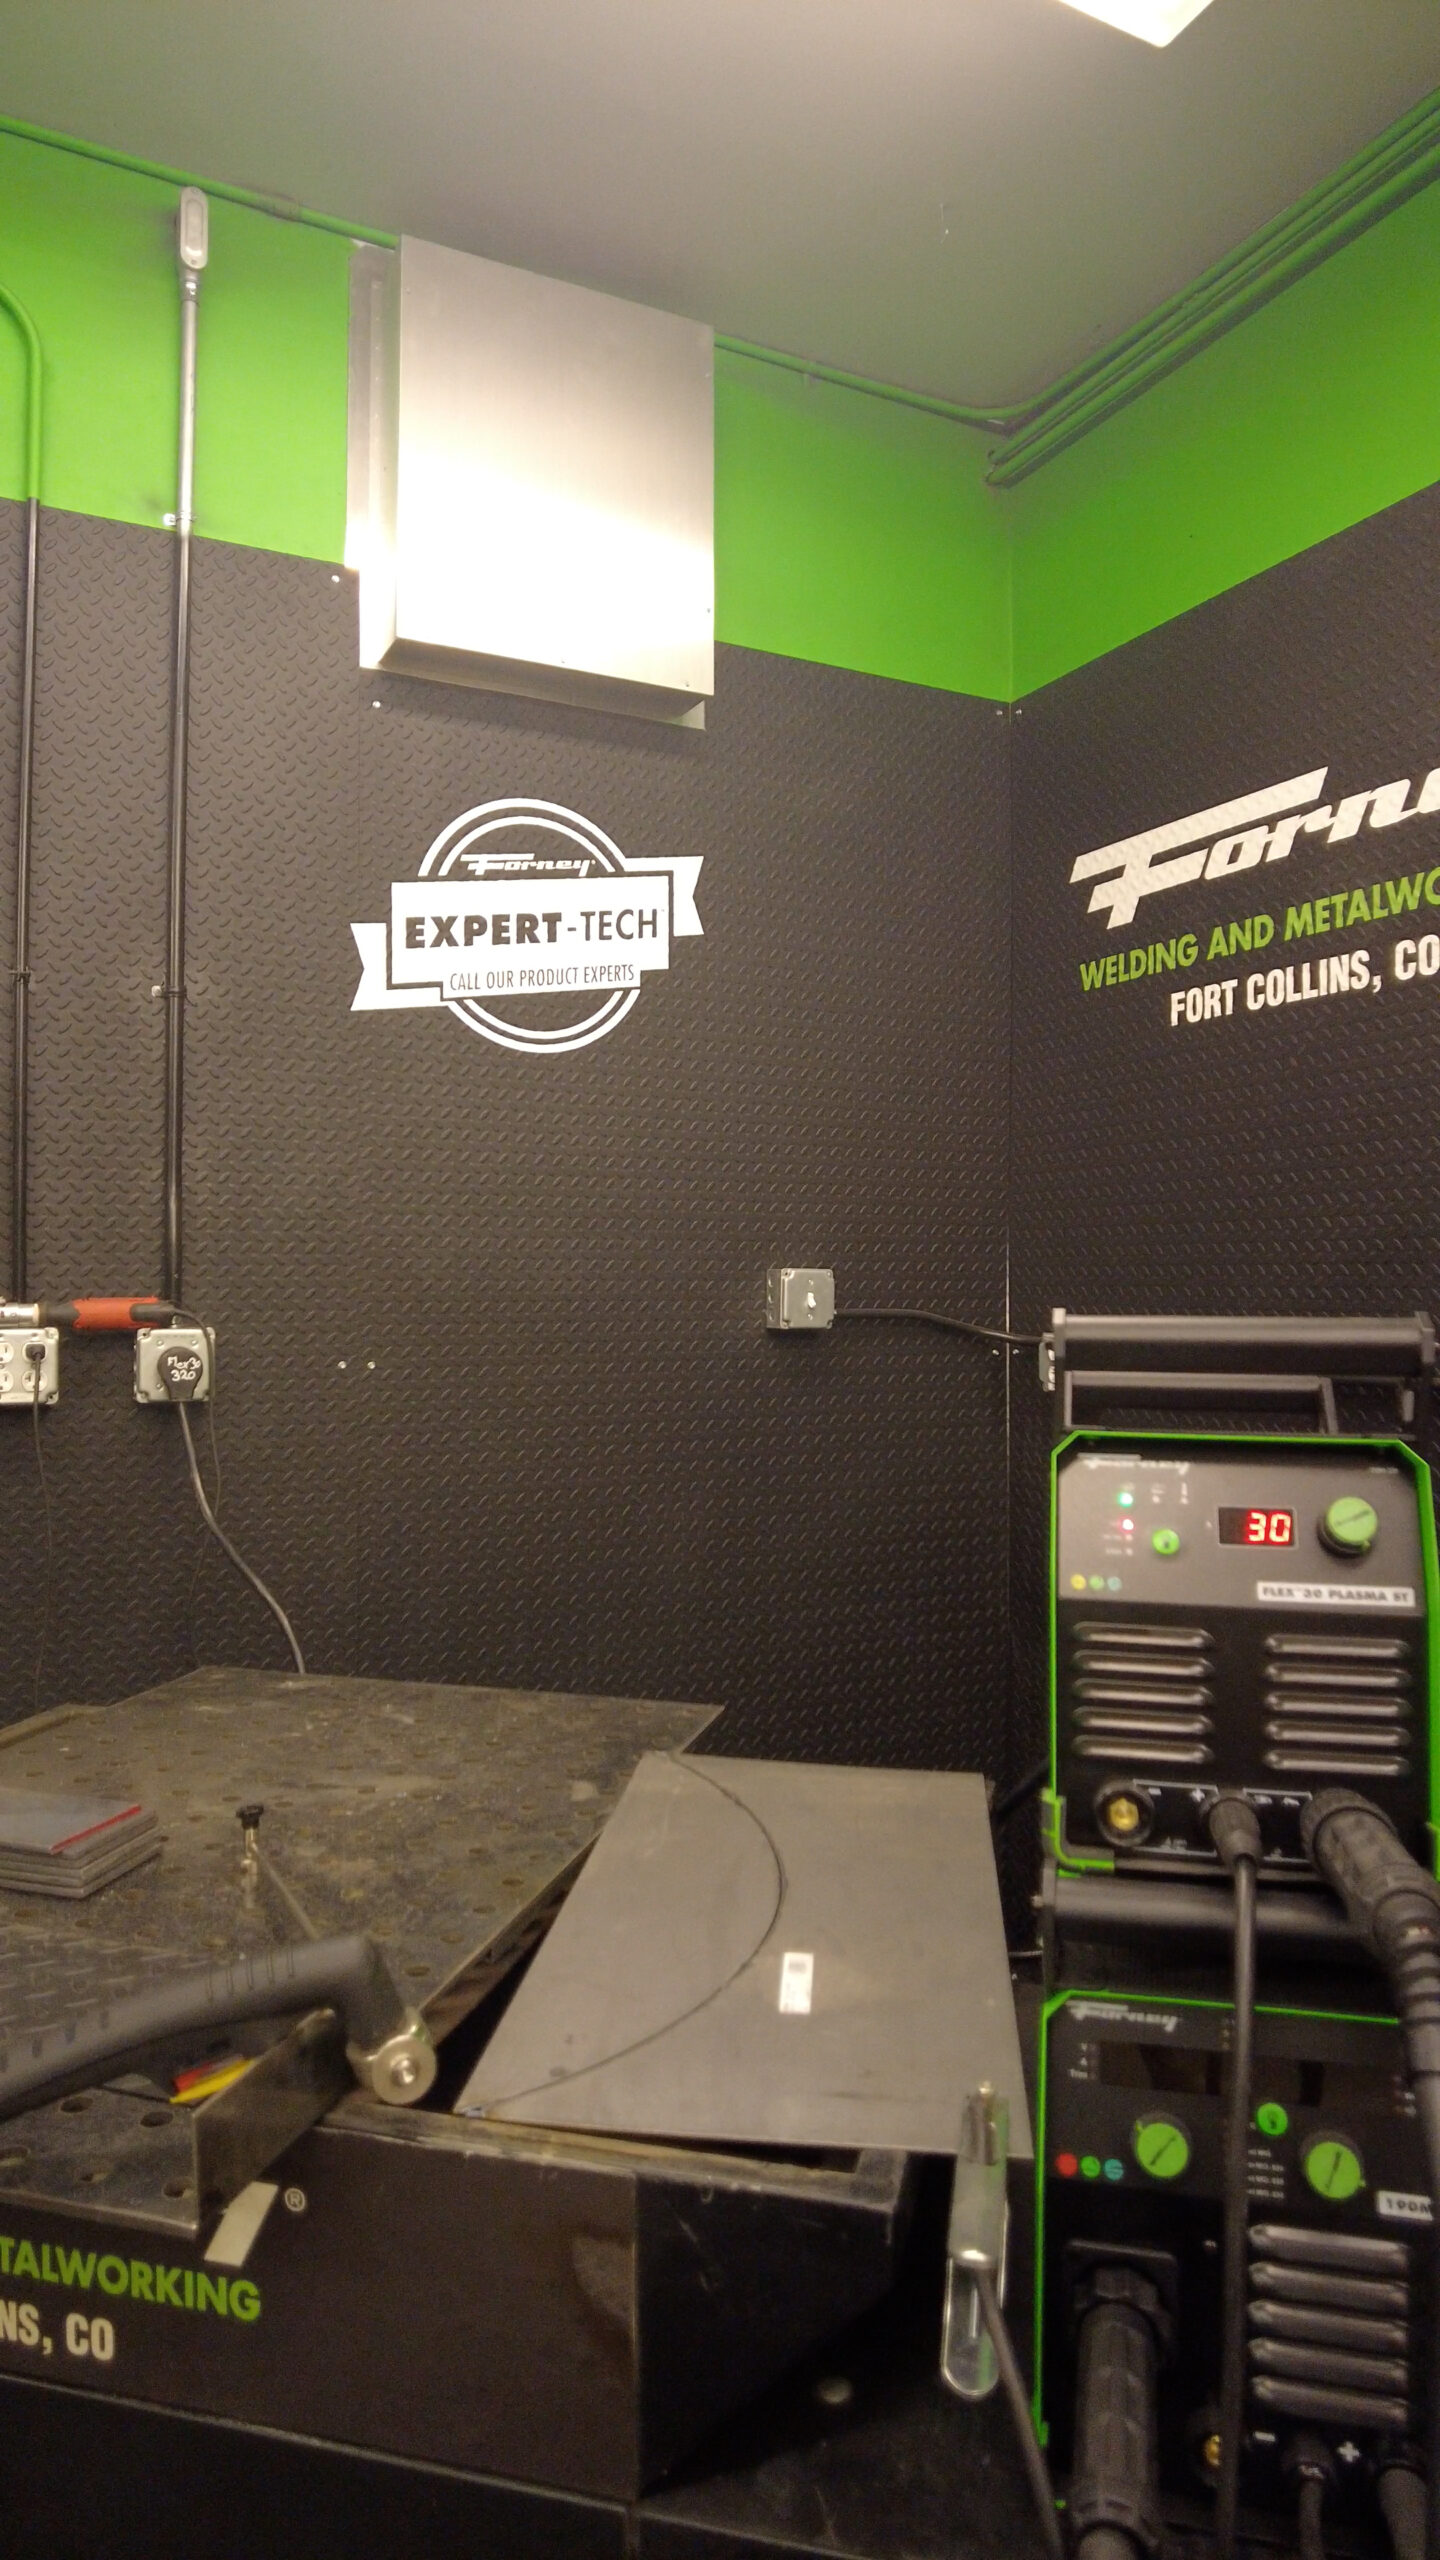
– Plasma cutter capable of cutting 16 gauge (we used the Forney Flex 30)
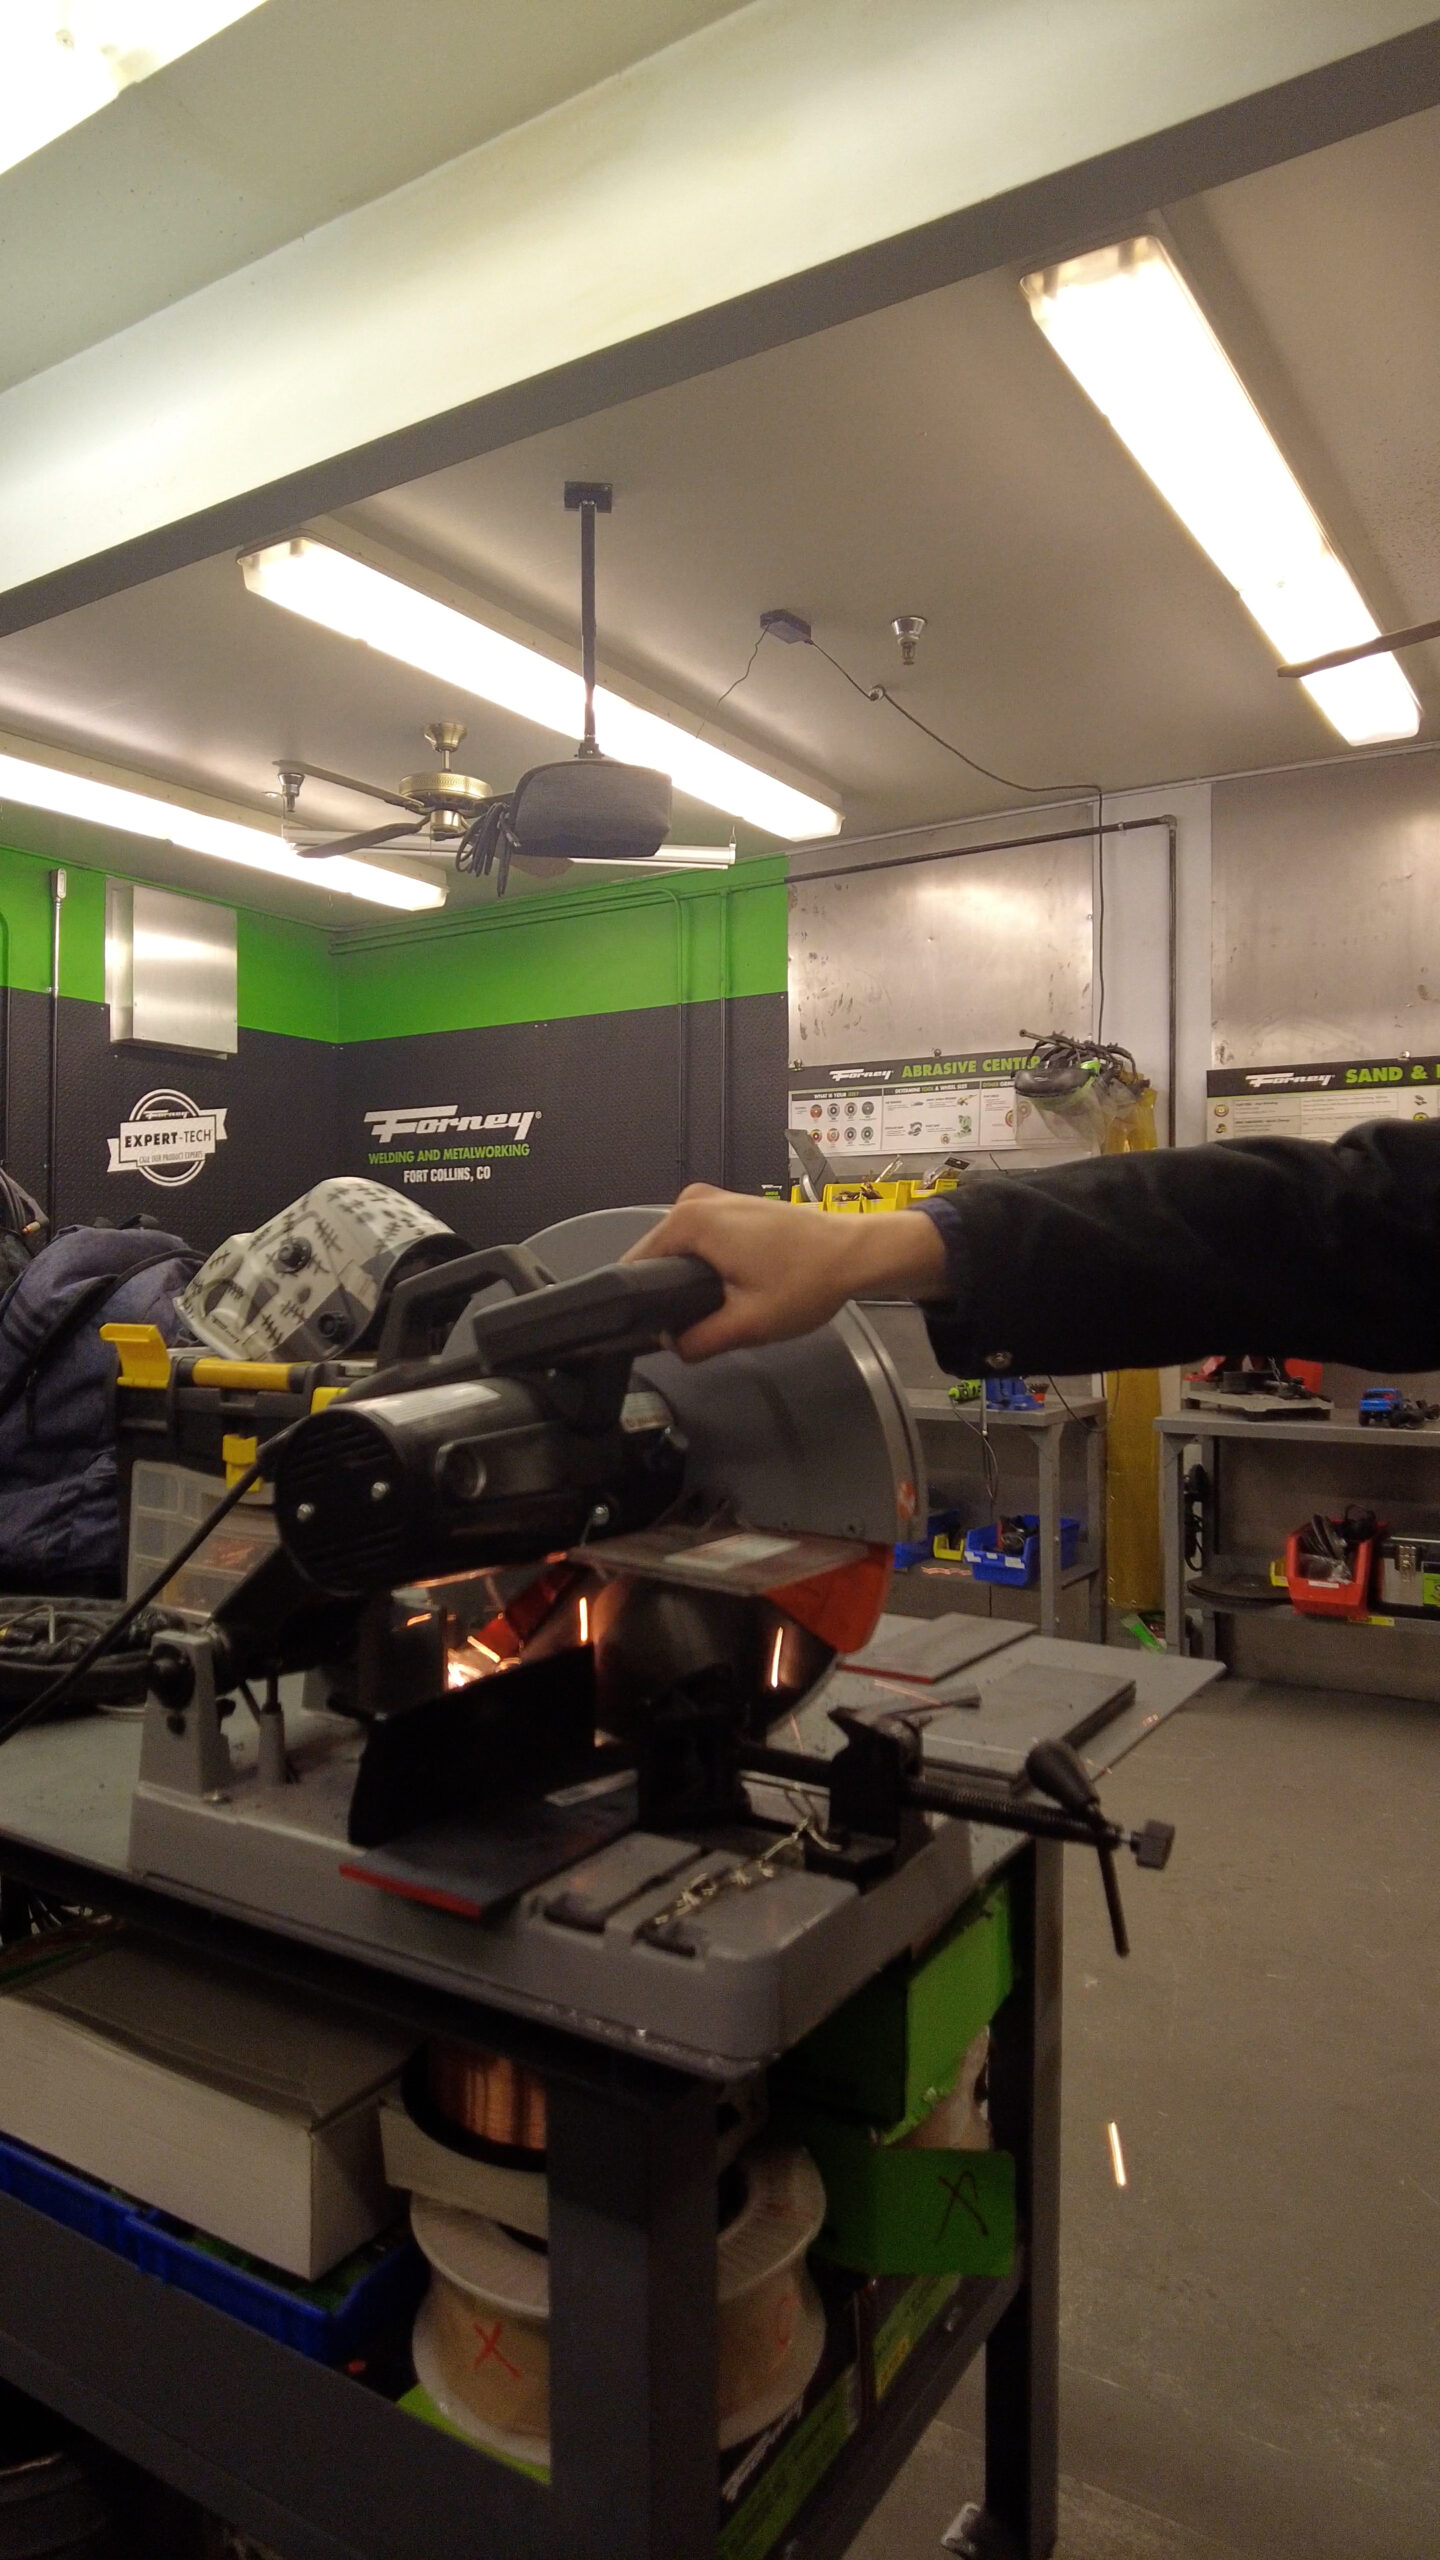
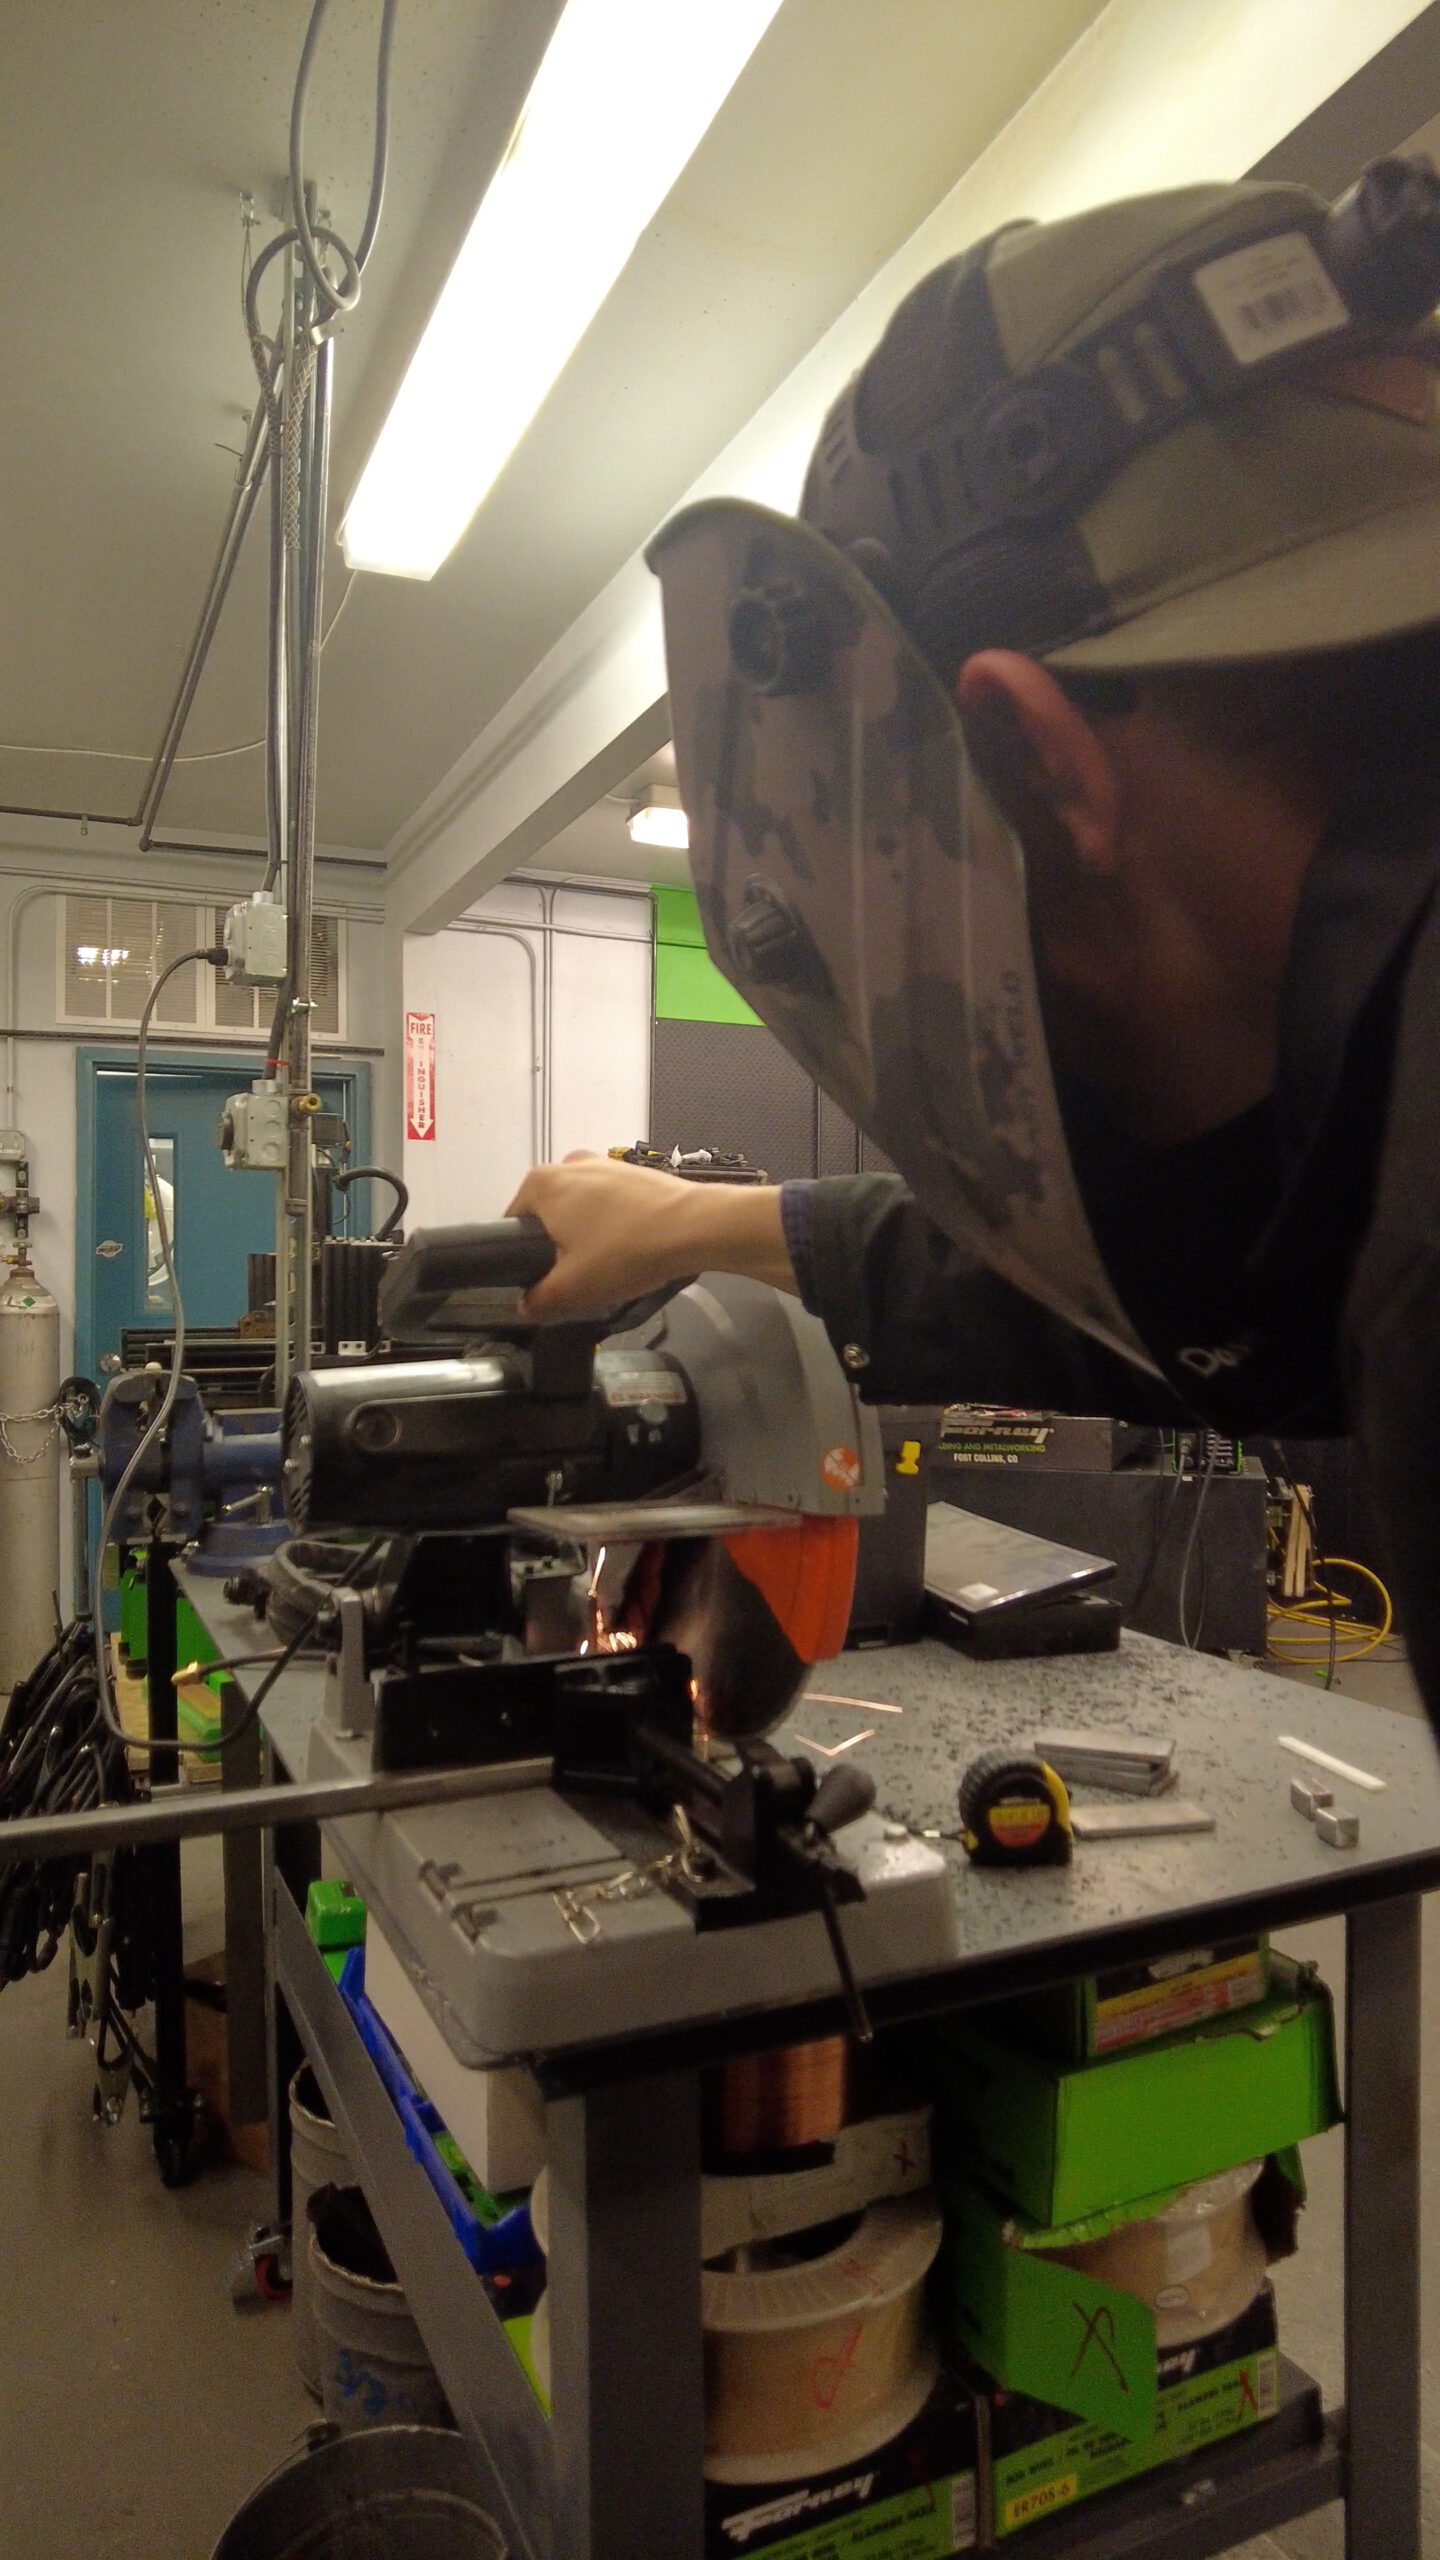
– Chop saw with metal blade
– 5 large magnets (Forney ITEM# 70715)
– 5 4” x 12” ¼” thick plate (Forney ITEM# 49620)
– 1 16 gauge sheet metal (Forney ITEM# 49575)
– Angle grinder with flap disc (Forney ITEM# 1905 & 71923)
– 6 inches of ½” square tube (Forney ITEM# 49520)
– Circle cutting guide (Forney ITEM# 85683)
– Personal protective equipment
Start by cutting out the base. Attach the plasma cutter to the circle cutting guide. Line up the circle cutting guide so the plasma cutter’s nozzle radius hits each corner. Cut the radius out of the sheet metal.
Move the sheet backward so the same radius can be cut out of the rear of the sheet metal. Use a tape measure to ensure an even cut on each side.

Build the car platform. Using the chop saw and metal cutting blade, remove 2” off one side of each ¼” plate. This will now make the plates 4”x10”.
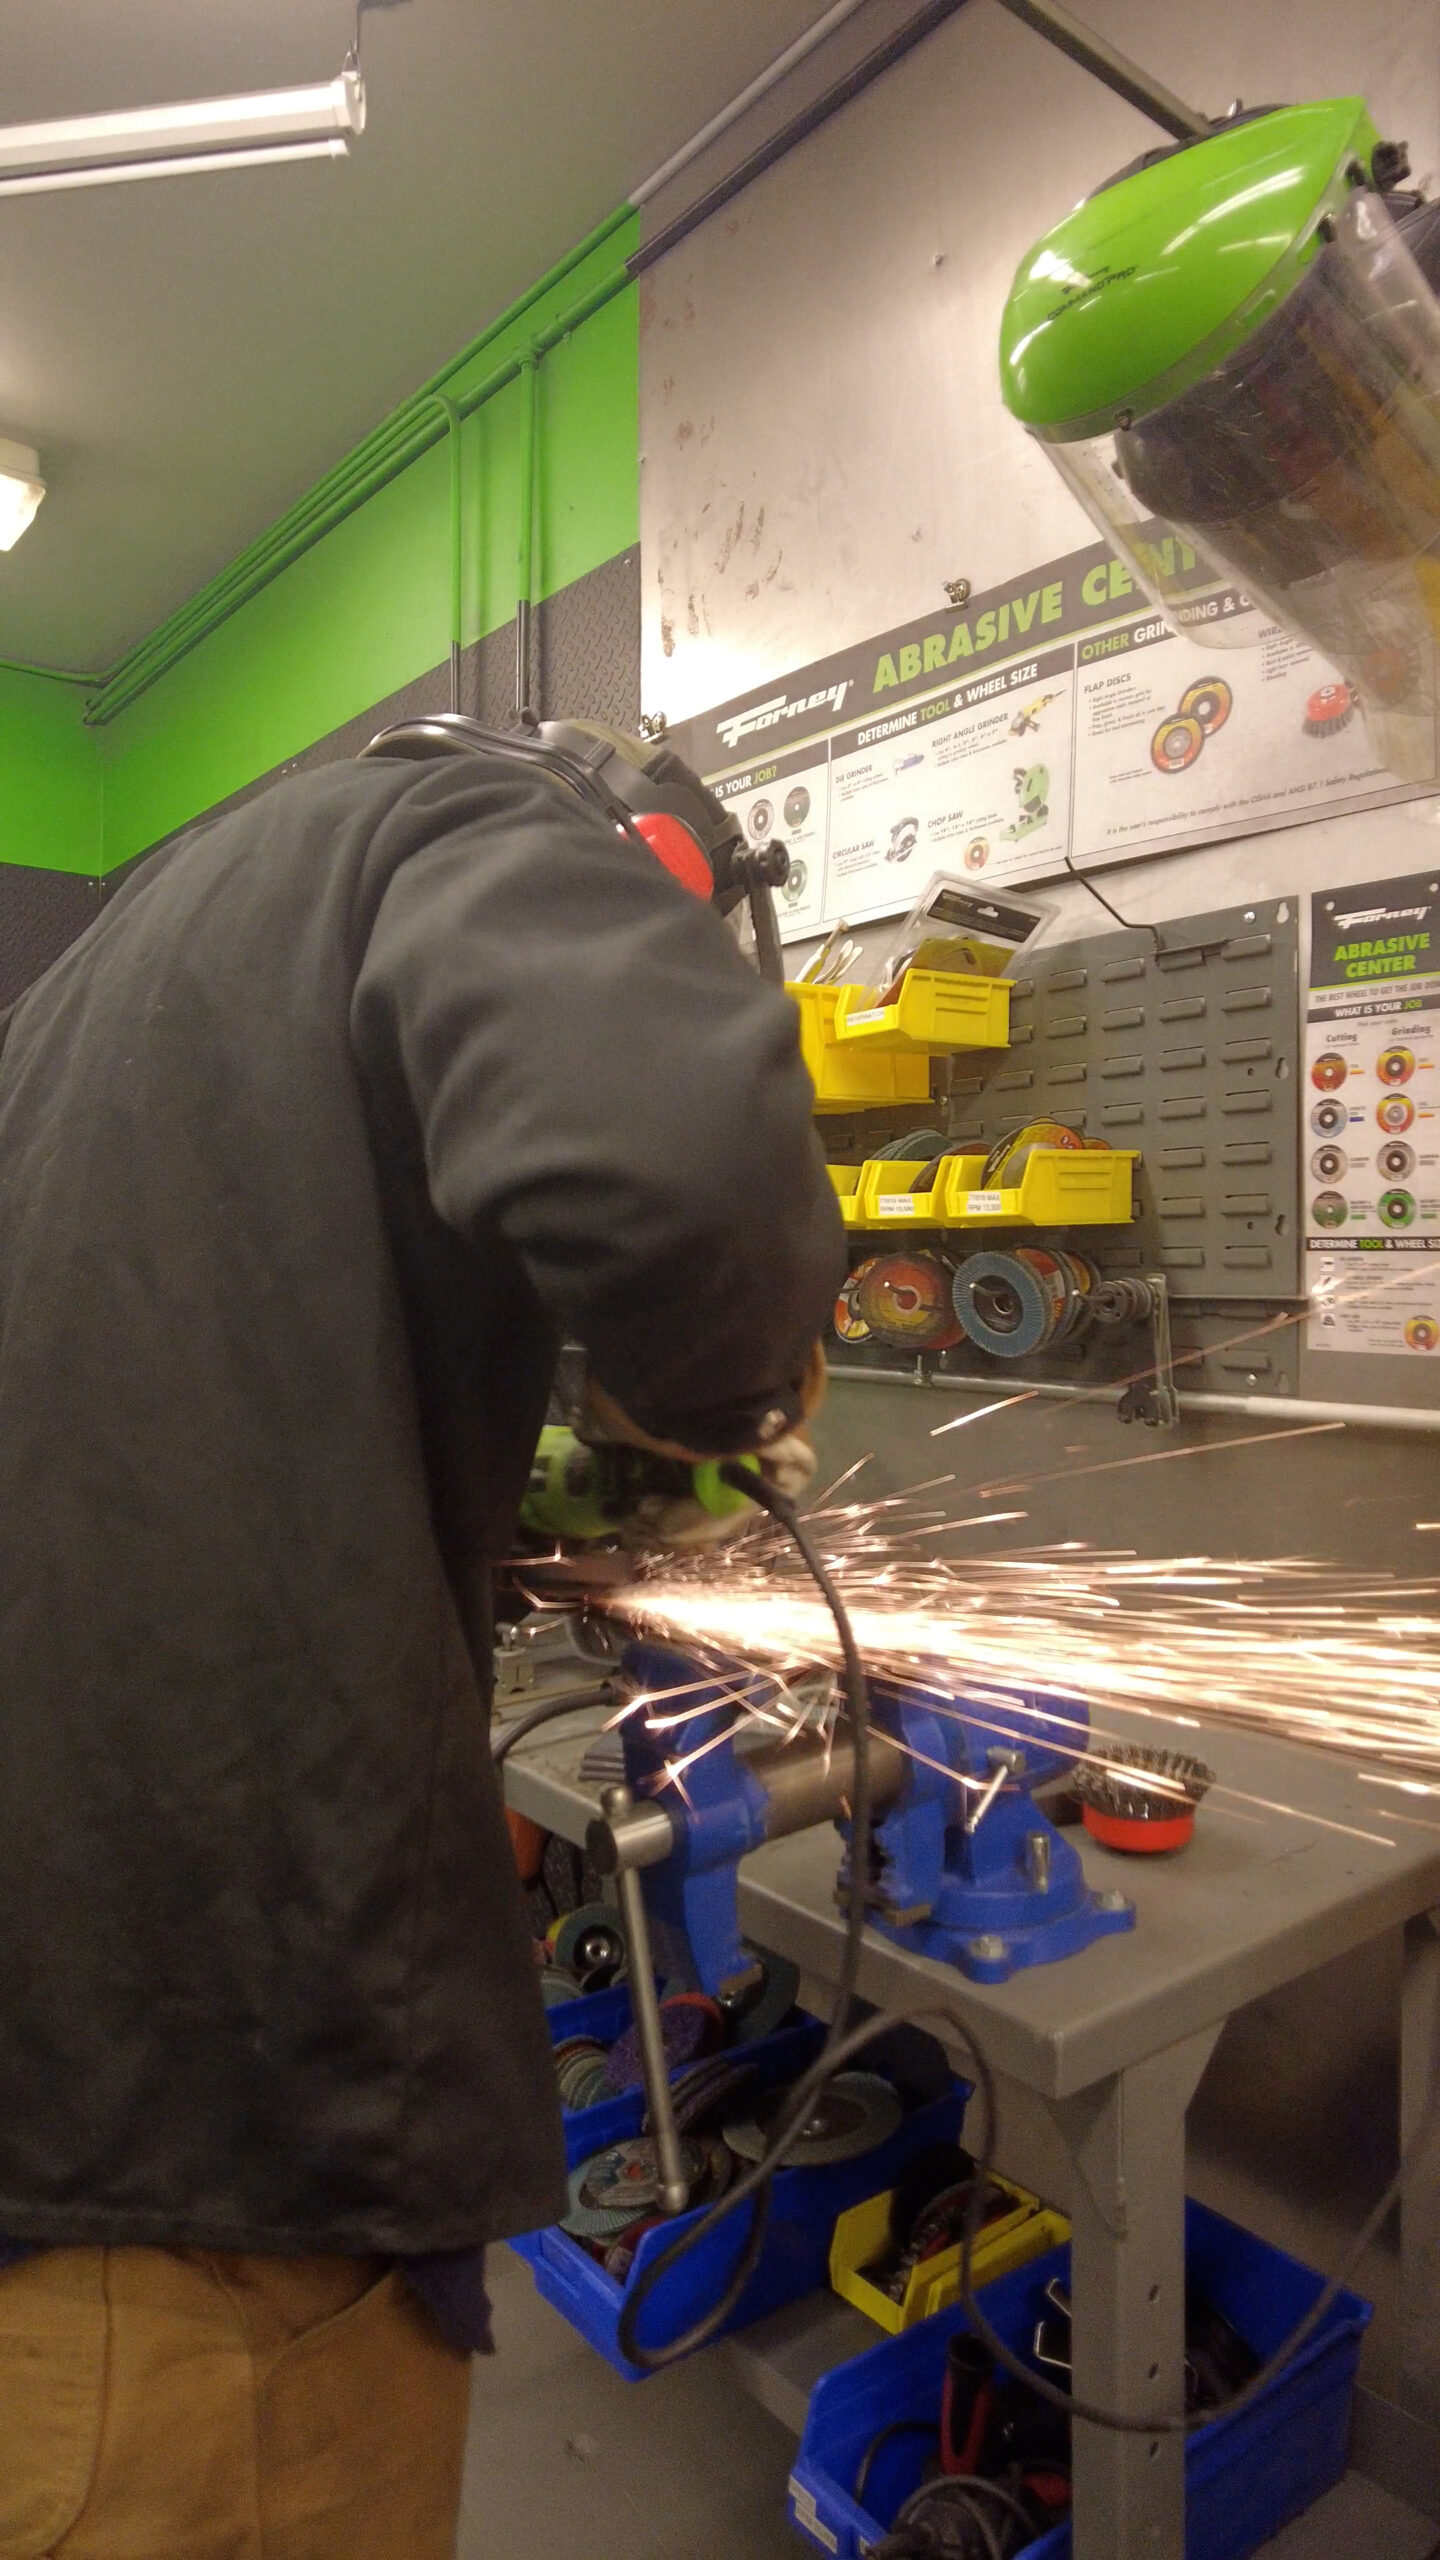
Clean up the plates for a detailed finish. Remove the mill scale from the ¼” plates using a flap disc.
Create the bases for the tiered platform. Cut 3 sections of tubing 1½” tall, 2” tall and 3” tall. Using a chop saw or angle grinder, cut 30-degree angles directly in the center of the of the 1½” and 3” tall sections and on the very top of the 2” section. These pieces (once inverted) will create the perfect angles for viewing the top of the car.
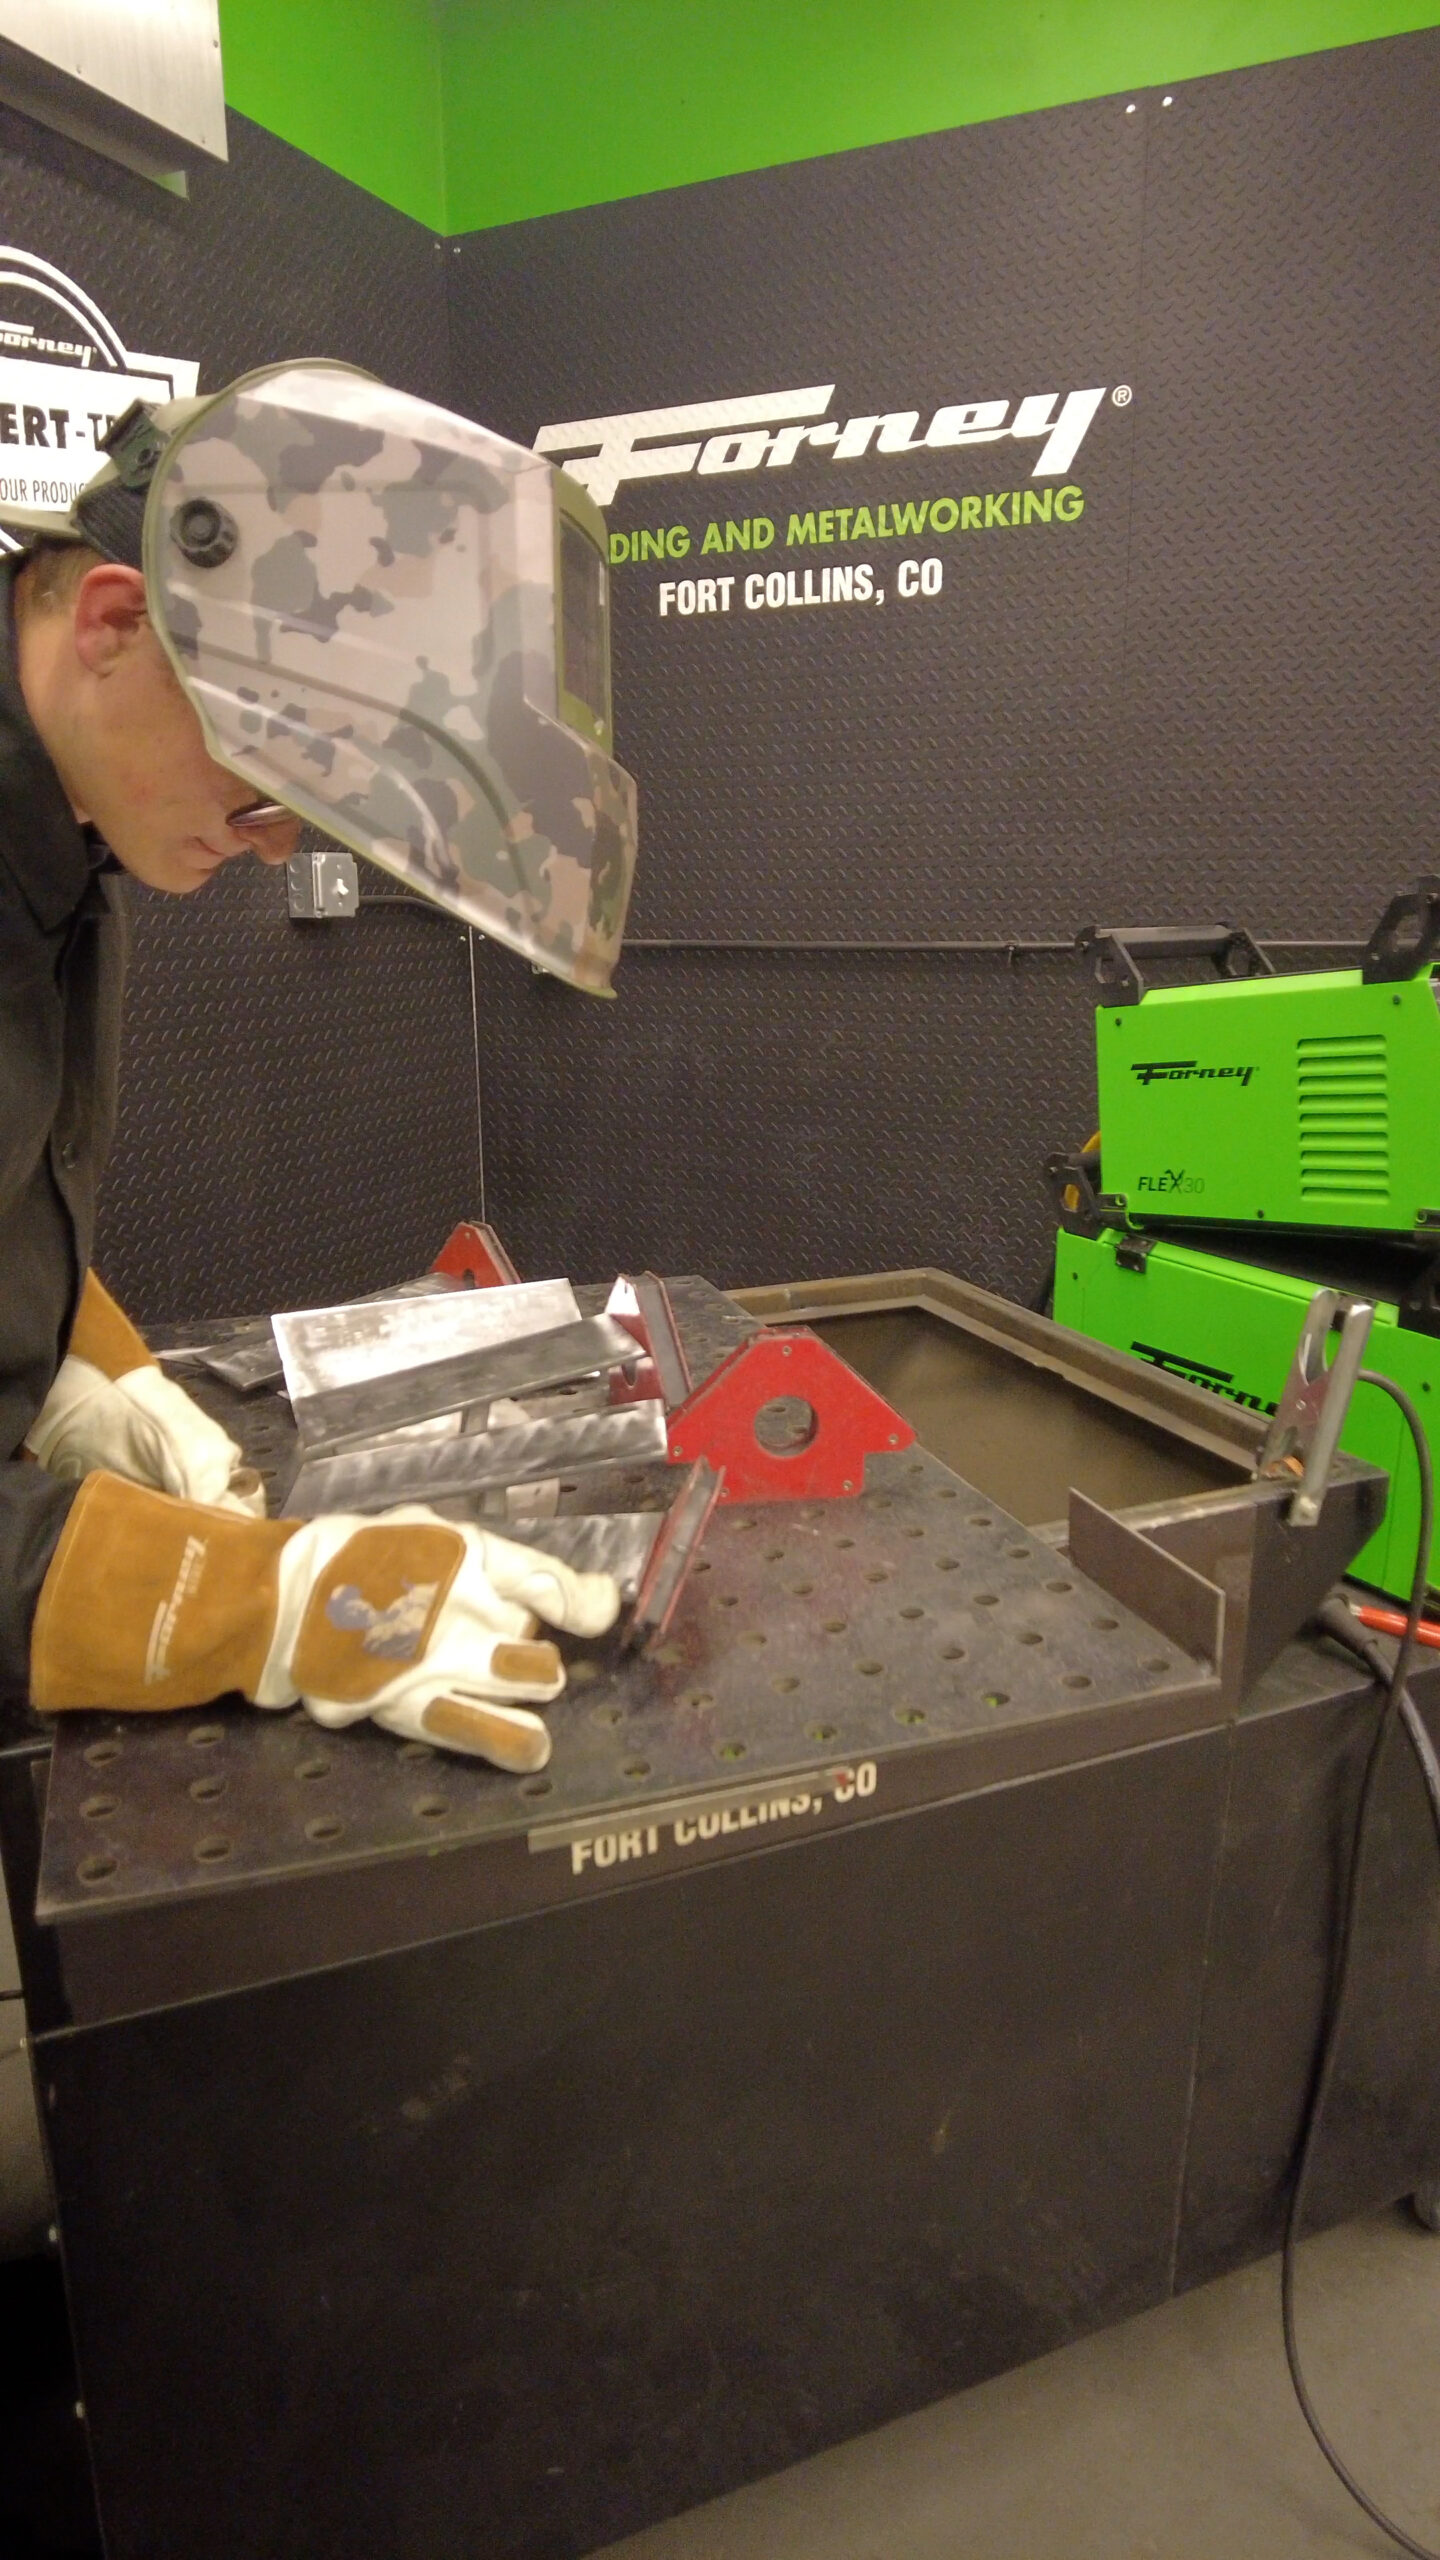
Attach angled post to the car podiums. Using weld magnets to align the posts, tack weld them to the center of each of the plates.
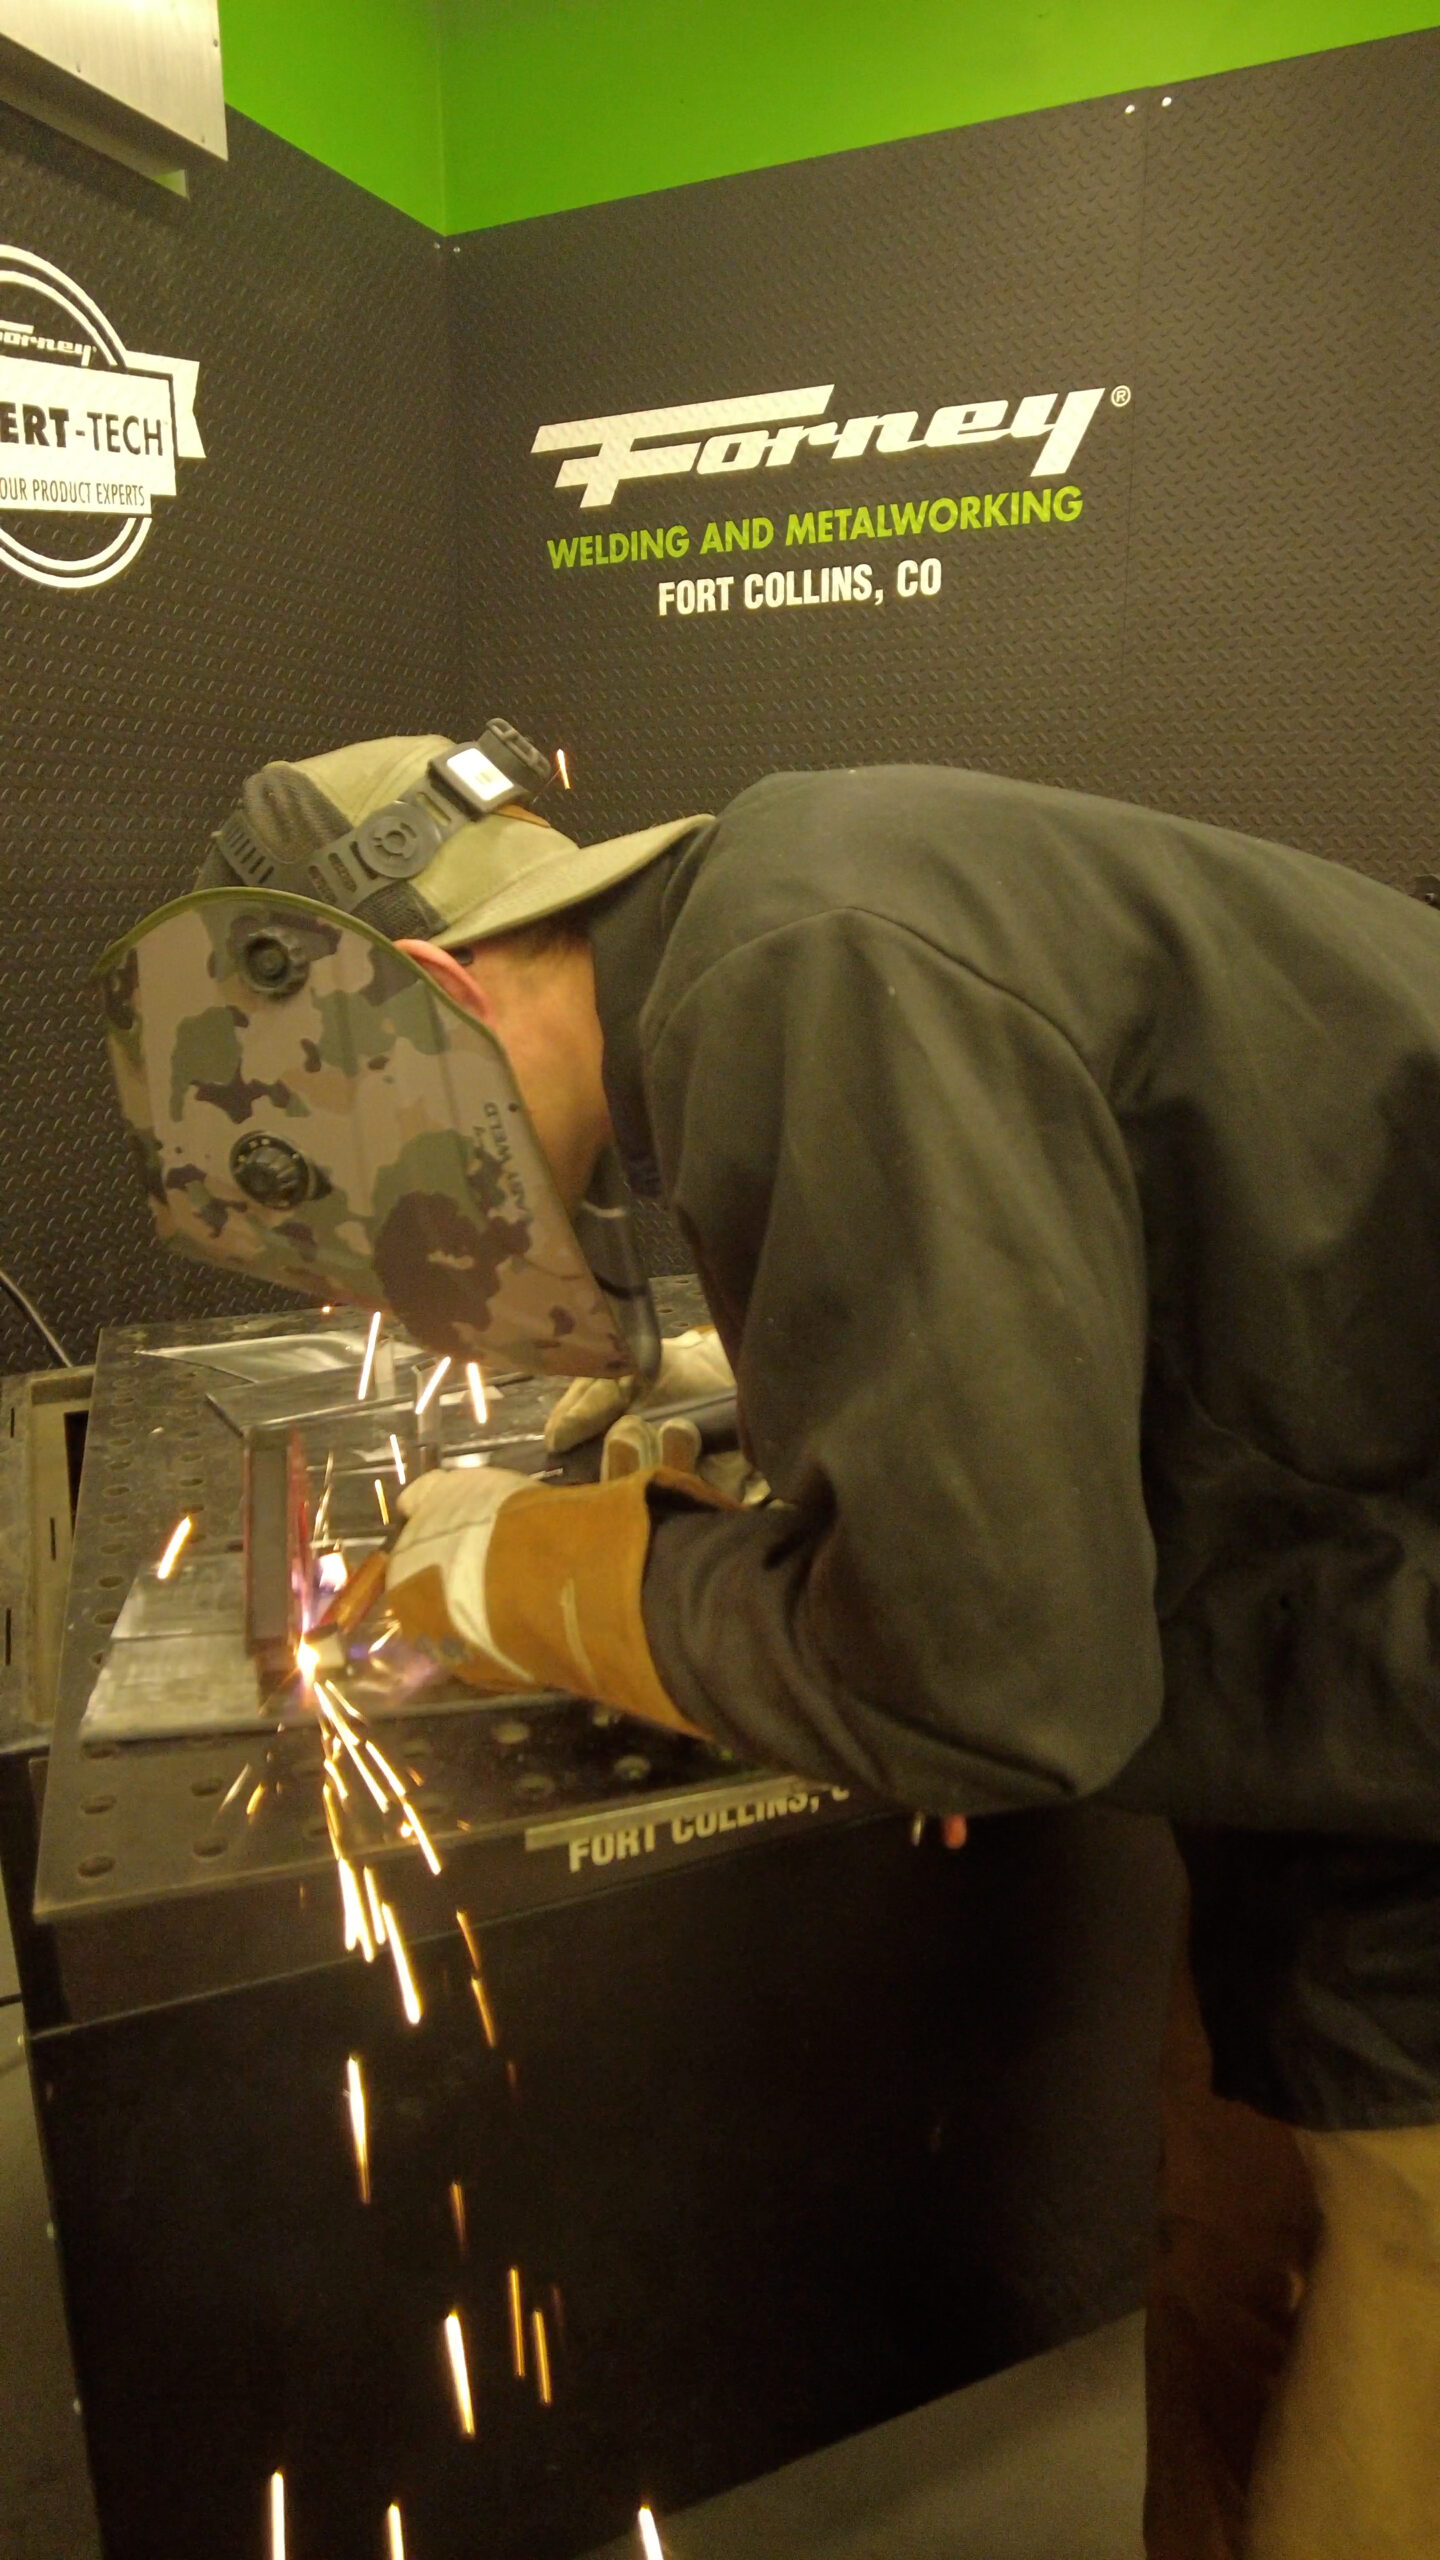
Align the plates with the posts facing down, using the magnets to hold them up from the rear. Take your time to really align the podiums for the most uniform and best-looking orientation.
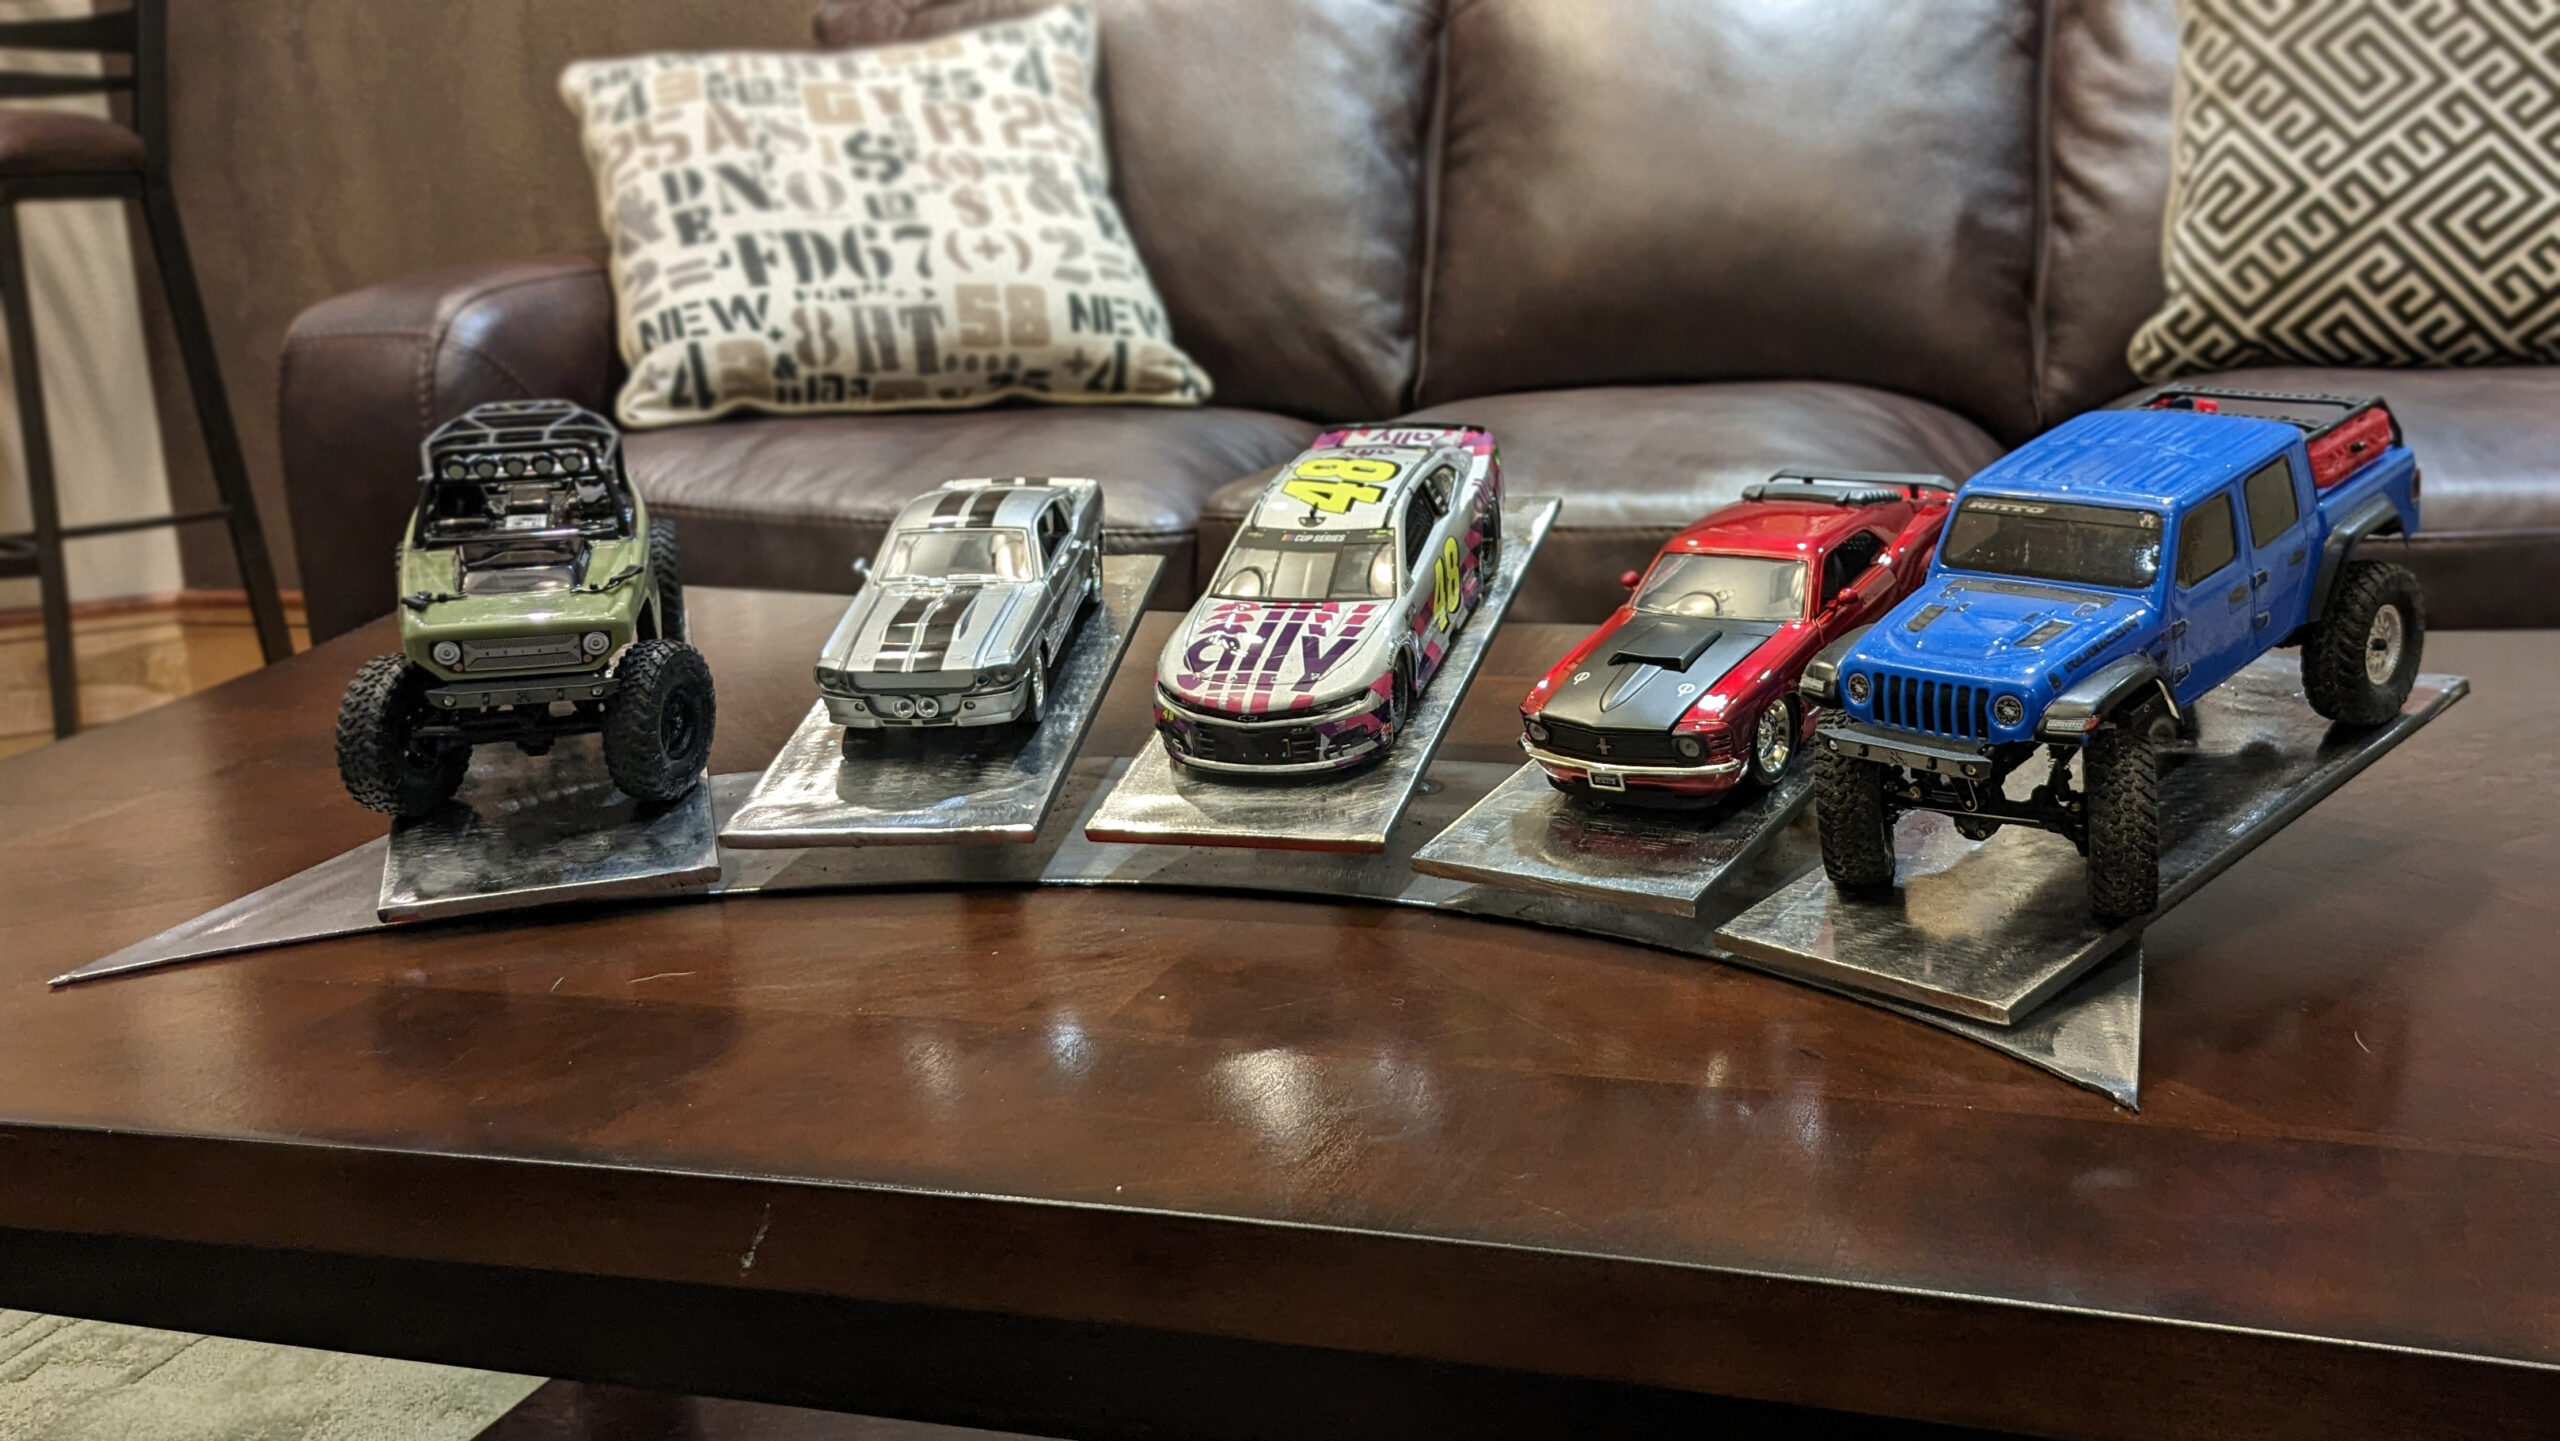
Tack weld the car podiums. Find a way that works for your cars to keep them from rolling off. You can leave this blank, use small magnets or weld a bar to the plate under the wheels. You can paint the podium, add flags or keep it simple with a clear coat.
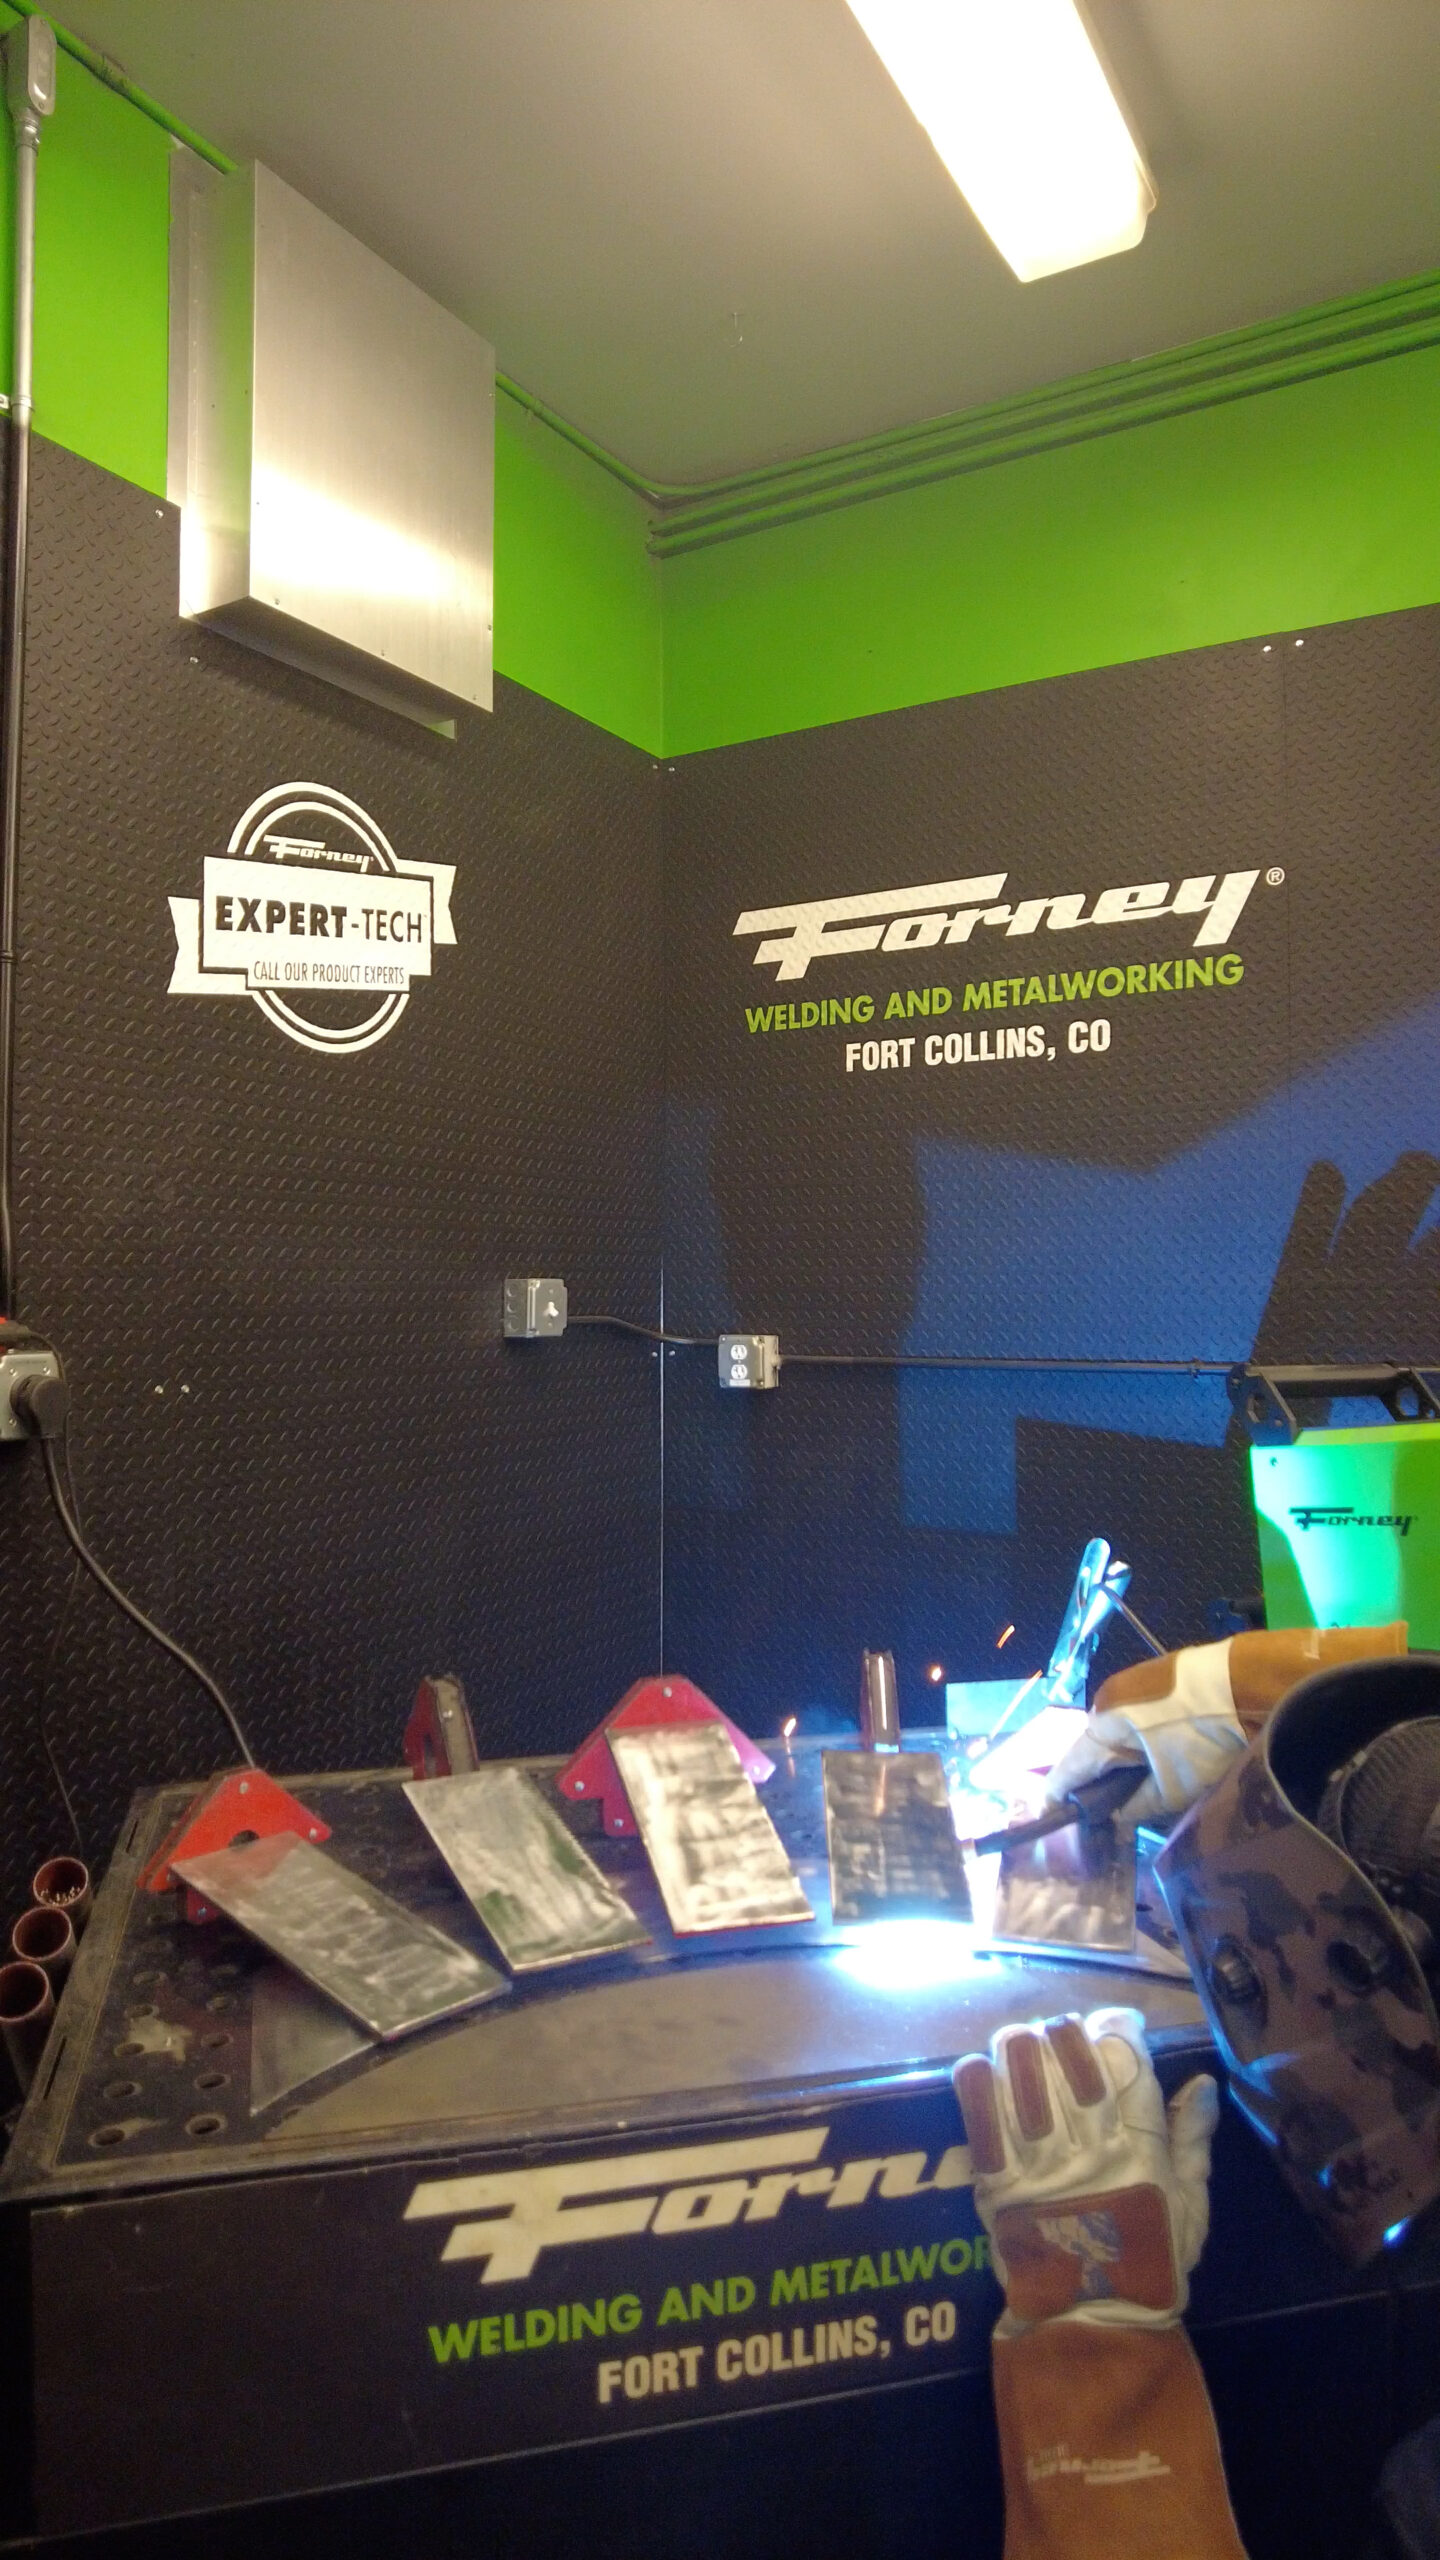
And now you have the finished piece – just add your favorite cars from your collection. Careful though, your friends are going to be asking you to make one for them next!